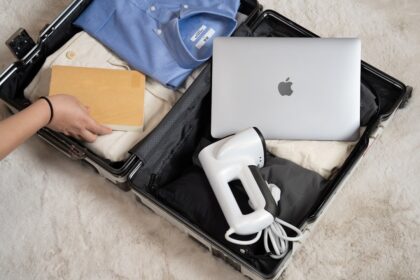


You don’t need a fancy camera to take breathtaking travel photos. With a few simple techniques, your smartphone can capture moments just as beautifully—whether you’re a student backpacking through Europe, a parent documenting family vacations, or a small business owner sharing travel content for your brand.
Master Your Phone’s Camera Settings

Most people never explore their phone’s camera beyond the default settings. But unlocking these features can make a huge difference.
1. Shoot in RAW (If Possible)
Phones like iPhones (Pro models) and high-end Androids allow RAW capture, which preserves more detail for editing. It’s like having a digital negative—perfect for adjusting exposure later.
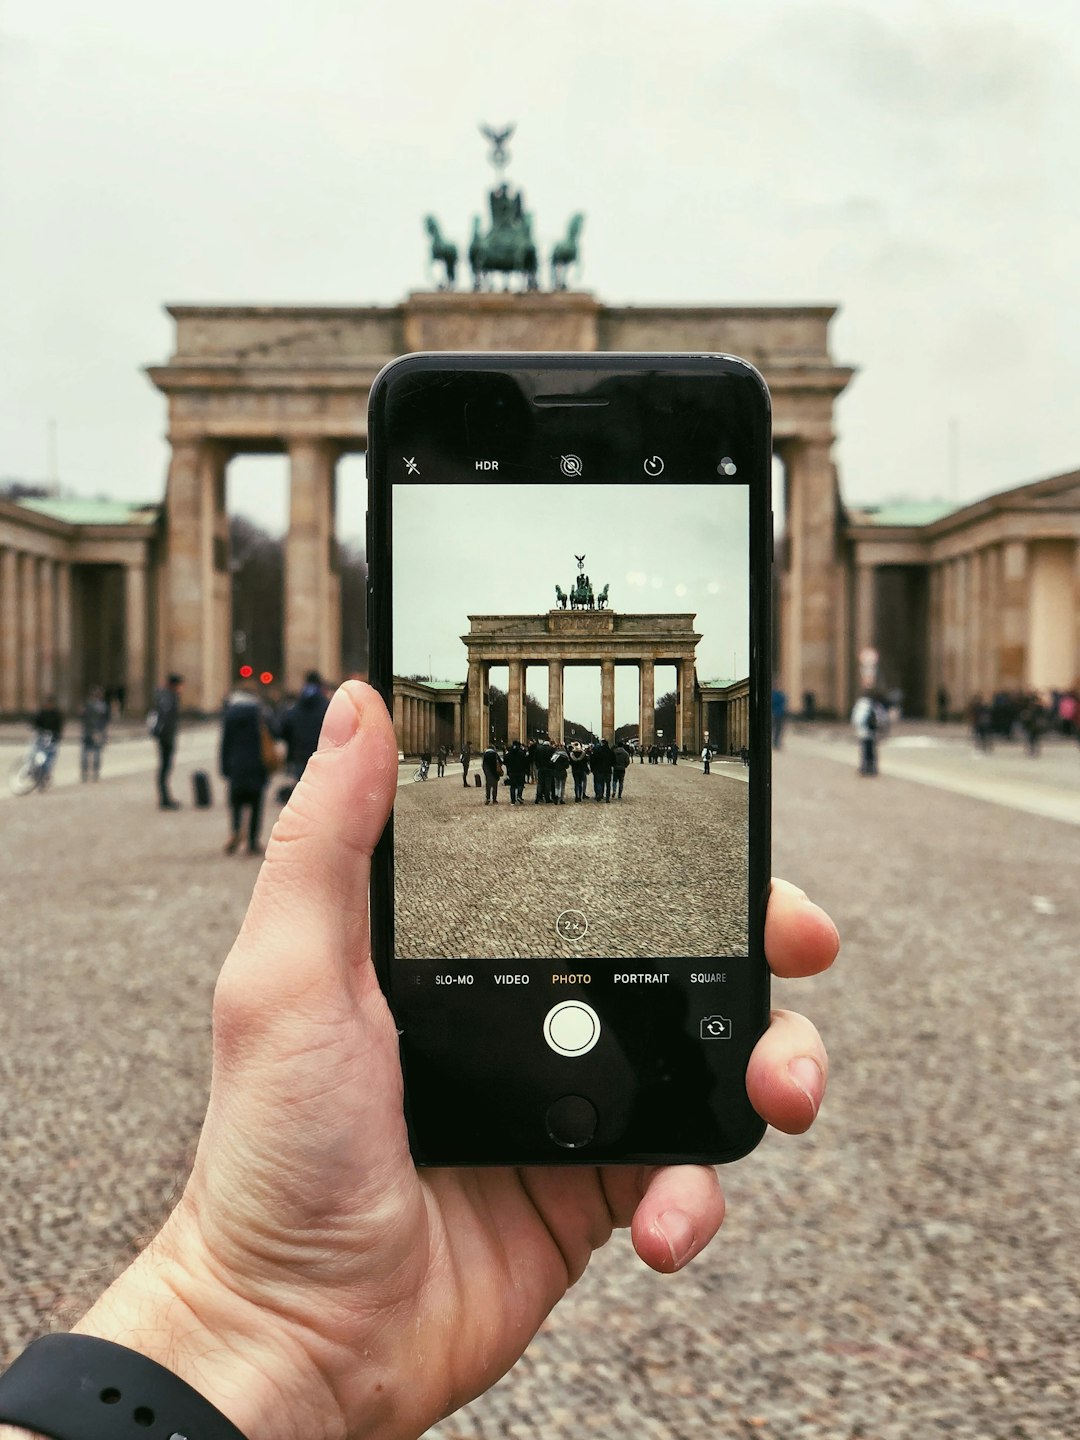
2. Use Grid Lines for Composition
Turn on the grid overlay (found in settings) to align shots using the rule of thirds. Place horizons on the top or bottom line, and position subjects where the lines intersect.
3. Lock Focus and Exposure
Tap and hold on your screen to lock focus. Swipe up or down to adjust brightness manually—super helpful for backlit scenes.
“Pro tip: Shoot in burst mode for action shots. Hold down the shutter button to capture a sequence, then pick the sharpest frame.” – Lena R., travel photographer
Lighting: The Secret to Professional-Looking Shots

Great lighting beats expensive gear every time. Here’s how to use it:
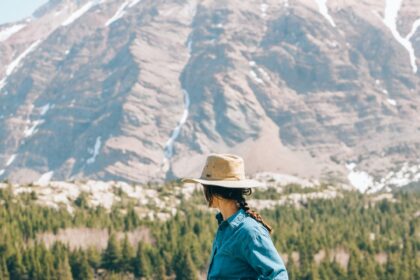
- Golden hour is your friend. Shoot during sunrise or sunset for soft, warm light. Harsh midday sun? Find shade or use it creatively for silhouettes.
- Avoid flash. It flattens images. Instead, use a small LED light or even a white napkin to bounce natural light onto faces.
- Backlight carefully. Position the sun behind your subject for a dreamy glow, but tap to expose for their face.
Composition Tricks That Work Everywhere
These techniques instantly upgrade your travel photography:
| Technique | Example |
|---|---|
| Leading lines | A winding road drawing the eye to a mountain |
| Framing | Architecture or tree branches “framing” a subject |
| Reflections | Puddles, lakes, or mirrors doubling the scene |
Tell a Story
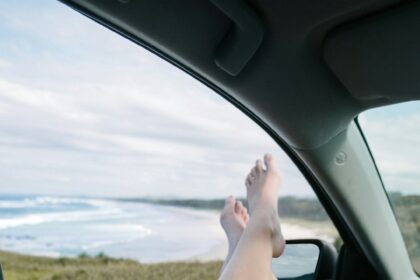
Instead of just snapping landmarks, capture details: a local vendor’s hands making food, a child playing by a famous monument, or your hiking boots with a valley in the background.
Editing: The Final Touch
Even quick edits can transform a photo. Try these apps:
- Snapseed (free): Precise control over shadows, highlights, and selective edits.
- Lightroom Mobile (free/premium): Best for color grading and RAW files.
- VSCO (free with paid filters): Great presets for consistent travel feeds.
Editing tip: Don’t overdo it. Adjust exposure and contrast first, then tweak colors subtly. A good test? Zoom out—if the edit looks obvious, dial it back.
Real-World Challenges (and Solutions)
Busy Tourist Spots
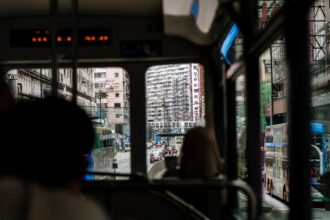
Arrive early or stay late to avoid crowds. No time? Angle your phone upward to focus on architecture against the sky, or use slow shutter apps (like Slow Shutter Cam) to blur moving people.
Low-Light Situations
Rest your phone on a stable surface (a bench, your bag) to avoid blur. Use Night Mode if your phone has it—hold still for 2-3 seconds for crisper shots.
Selfie Struggles
Flip your phone upside down when using the rear camera for selfies—the lens is usually at the bottom, giving a more flattering angle. Or invest in a tiny tripod with a Bluetooth remote.
What Not to Do
Avoid these common mistakes to keep your travel photos looking pro:
- Overusing zoom (it degrades quality—step closer instead).
- Ignoring the background (check for distracting poles or trash).
- Only shooting horizontal. Vertical works better for social media.
Remember, the best camera is the one you have with you. By practicing these techniques, you’ll start seeing your surroundings through a photographer’s eye—even when you’re just using your phone.
Frequently Asked Questions
Rest your phone on a stable surface like a bench to prevent blur, and use Night Mode if available—hold steady for 2-3 seconds. Avoid flash; instead, bounce natural light with a white napkin or use a small LED light for subtle illumination.
Turn on grid lines in your camera settings and apply the rule of thirds. Place horizons on the top or bottom grid line, and position key subjects where the lines intersect for balanced, eye-catching photos.
Visit early morning or late afternoon when crowds thin. If you’re stuck midday, angle your phone upward to focus on architecture against the sky or use a slow shutter app to artistically blur moving people.
Digital zoom crops and enlarges the image, reducing quality. Instead, physically move closer to your subject or shoot in high resolution and crop later during editing for sharper results.
Snapseed offers precise control over exposure and selective adjustments, while VSCO provides stylish presets. For RAW files, Lightroom Mobile excels at color grading—just avoid over-editing by checking if adjustments look natural when zoomed out.
Flip your phone upside down—the lens is usually at the bottom, giving a more flattering angle. For hands-free shots, use a mini tripod with a Bluetooth remote to control the shutter from a distance.